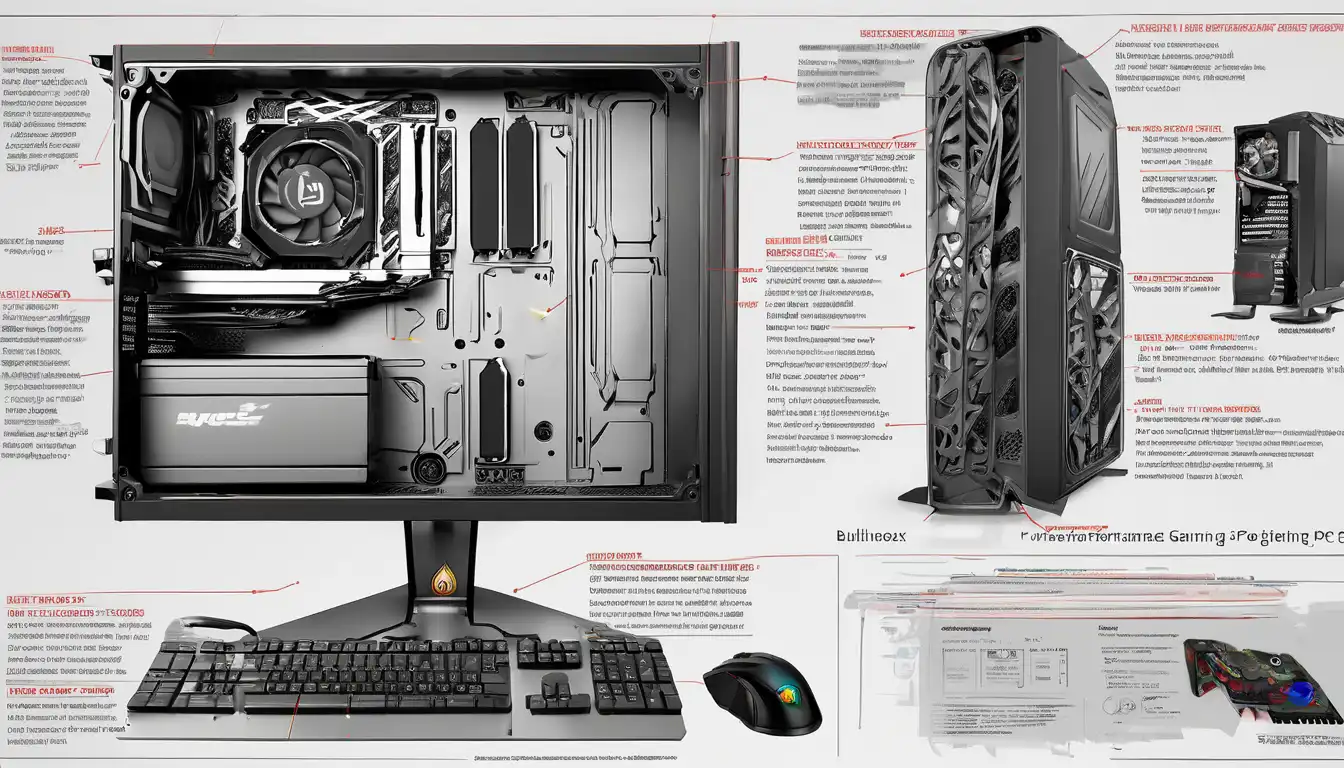
Introduction to High-Performance Gaming PC Assembly
Building a high-performance gaming PC represents one of the most rewarding experiences for any gaming enthusiast. Unlike pre-built systems, custom-built computers allow for complete control over component selection, ensuring optimal performance tailored to specific gaming needs. This comprehensive guide walks you through the entire process, from selecting compatible components to final assembly and optimization.
Essential Components for Your Gaming Rig
Central Processing Unit (CPU)
The CPU serves as the brain of your gaming PC, handling critical calculations and instructions. For modern gaming, we recommend processors from Intel's Core i7/i9 series or AMD's Ryzen 7/9 series. Consider factors like core count, clock speed, and thermal design power when making your selection. Higher-end CPUs provide better future-proofing and handle demanding games more efficiently.
Graphics Processing Unit (GPU)
Arguably the most crucial component for gaming performance, the GPU renders images, animations, and videos. NVIDIA's RTX 30/40 series and AMD's RX 6000/7000 series offer excellent options for high-performance gaming. VRAM capacity, clock speeds, and cooling solutions significantly impact gaming performance at various resolutions.
Motherboard Selection
Your motherboard acts as the foundation connecting all components. Key considerations include chipset compatibility with your CPU, available expansion slots, RAM capacity, and connectivity options. Ensure the motherboard supports your chosen CPU out of the box to avoid compatibility issues.
Memory (RAM)
For modern gaming, 16GB represents the minimum recommendation, with 32GB being ideal for future-proofing. DDR4 or DDR5 RAM with speeds of 3200MHz or higher ensures smooth performance. Consider dual-channel configurations for improved memory bandwidth.
Storage Solutions
NVMe SSDs provide lightning-fast load times, while larger capacity HDDs offer affordable bulk storage. A combination of both often works best—SSD for your operating system and frequently played games, HDD for media files and less demanding applications.
Power Supply Unit (PSU)
Select a PSU with sufficient wattage to power all components with overhead for future upgrades. Look for 80 Plus Bronze certification or higher for efficiency. Modular PSUs simplify cable management, improving airflow within your case.
Cooling Systems
Proper cooling maintains optimal performance and extends component lifespan. Air cooling offers reliability and affordability, while liquid cooling provides superior thermal performance for overclocked systems. Consider case fan placement for optimal airflow.
Case Selection
Choose a case that accommodates your motherboard form factor while providing adequate space for components and cable management. Features like tempered glass panels, dust filters, and tool-less design enhance the building experience.
Step-by-Step Assembly Process
Preparation and Safety
Begin by gathering all components and necessary tools in a static-free environment. Use an anti-static wrist strap to prevent electrostatic discharge damage. Read all component manuals thoroughly before starting assembly.
Motherboard Preparation
Install the CPU, RAM, and M.2 SSD onto the motherboard before placing it in the case. Apply thermal paste properly if using an aftermarket CPU cooler. Handle components by their edges to avoid damaging sensitive circuitry.
Case Preparation
Remove side panels and install the PSU, routing cables through appropriate openings. Install case fans in optimal configurations—typically front intake and rear exhaust. Install any included drive bays or mounting brackets.
Component Installation
Secure the motherboard using standoffs provided with your case. Connect front panel headers, USB ports, and audio jacks according to motherboard documentation. Install the GPU in the primary PCIe x16 slot, ensuring it clicks into place.
Cable Management
Route cables neatly behind the motherboard tray where possible. Use zip ties or Velcro straps to secure cables, ensuring they don't obstruct airflow. Proper cable management improves aesthetics and thermal performance.
Final Connections
Connect all power cables from the PSU to respective components. Double-check all connections before powering on the system. Connect peripherals and monitor before initiating the first boot.
BIOS Configuration and Optimization
Access the BIOS/UEFI by pressing the designated key during startup (typically Delete or F2). Enable XMP/DOCP profiles for optimal RAM performance. Configure boot priority to your installation media. Update BIOS to the latest version for improved stability and compatibility.
Operating System Installation
Create a bootable USB drive with your preferred operating system. Windows 10/11 remains the standard for gaming due to broad compatibility. During installation, format drives as needed and install necessary drivers from component manufacturers' websites.
Performance Testing and Benchmarking
Use benchmarking software like 3DMark or Unigine Heaven to stress-test your system. Monitor temperatures using HWMonitor or similar tools. Ensure all components operate within safe temperature ranges under load.
Maintenance and Upkeep
Regular maintenance ensures long-term performance. Clean dust filters monthly and interior components quarterly. Update drivers regularly and monitor system temperatures. Consider reapplying thermal paste annually for optimal cooling performance.
Troubleshooting Common Issues
If your system fails to boot, check all power connections and component seating. Ensure RAM modules are properly installed in correct slots. Consult motherboard diagnostic LEDs or error codes for specific issues.
Future Upgrade Considerations
Plan for future upgrades by selecting components with upgrade paths. Choose power supplies with extra wattage headroom and motherboards with additional expansion slots. Monitor emerging technologies to time upgrades effectively.
Conclusion
Building a high-performance gaming PC provides not only superior gaming experiences but also valuable technical knowledge. The process, while initially daunting, becomes increasingly rewarding with each successful build. Remember that component research and careful assembly yield the best results. For more detailed information on specific components, check out our gaming hardware reviews and advanced building techniques.
